HRNet이 무엇인지?
논문 원문
https://arxiv.org/pdf/1902.09212v1.pdf
HR Net은 Human Pose estimation 분야에서 SOTA(State of the art)모델을 달성한 모델로 2019년에 발표되었다.
HRNet은 2D Human Pose Estimation중 하나이다.
2D Human Pose Estimation란, 입력 이미지로부터 사람의 관절을 2D 공간에 위치화 시키는 것을 말한다.
보통 2가지 형태로 나눠지게 되는데,
Top-down approach와 Bottom-up appproach 방법으로 나눠져있다.
HRNet 같은 경우, Top-down approach를 사용한다.
이는 Bottom-up approach 보다 더 뛰어난 정확성을 가지고 있다.
다만 조금 더 비효율적이라는 문제점을 지니고 있다.
그렇기 때문에 Top-down approach를 따르는 HRNet은 Human detector로 detection한 후,
2D single person pose estimator를 사용해서 single person pose estimation을 적용한다.
- 기존 human pose estimation을 위한 backbones들(ResNet)은 입력 이미지를 32배 downsampling함
- 저해상도의 featuremap을 초래함(손목 사라짐 문제, Discretization problem 발생)
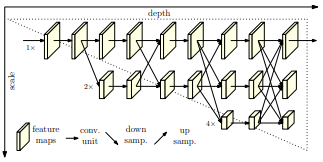
- HRNet은 고해상도의 feature map을 효과적이고 효율적으로 보존함
- Multi-scale feature fusing이 더 강건한 feature 추출을 가능하게 함
이제 직접 실행을 해보자.
https://github.com/HRNet/HigherHRNet-Human-Pose-Estimation
GitHub - HRNet/HigherHRNet-Human-Pose-Estimation: This is an official implementation of our CVPR 2020 paper "HigherHRNet: Scale-
This is an official implementation of our CVPR 2020 paper "HigherHRNet: Scale-Aware Representation Learning for Bottom-Up Human Pose Estimation" (https://arxiv.org/abs/1908.10357) - GitHu...
github.com
모델에 대한 모든 기본 정보는 이곳에 아주 자세하게 나와있다.
Quick start 메뉴를 참조하여 모델을 돌려보도록하자.
모델은 리눅스 환경, Python 3.6에서 개발되었다.
※리눅스 환경에서 진행하는 것이 정신 건강에 이롭다!
필자는 윈도우 환경에서 진행하다가 포기했다.
- 윈도우에서 리눅스 터미널 사용을 할 수 있는 WSL을 사용
- 윈도우에서 가상 리눅스 환경 구축
- 윈도우 리눅스 멀티부팅(추천: 개인적으로 가장 쉽다고 생각함)
필자는 우분투(20.04)를 통해 리눅스 환경을 사용중이다.
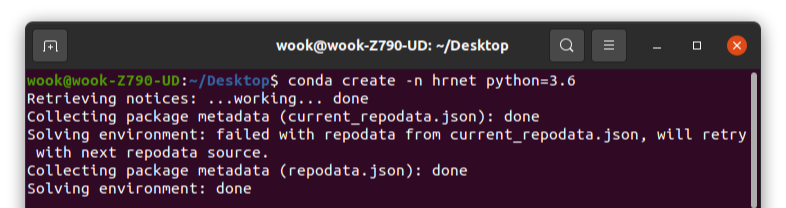
아나콘다를 이용해 가상환경을 만든다. 단! python버전을 3.6으로 고정한다.
Installation
- Install pytorch >= v1.1.0 following official instruction
PyTorch
An open source machine learning framework that accelerates the path from research prototyping to production deployment.
pytorch.org
필자는 다른 모델을 돌리기 위해서 cuda 11.2 버전을 사용중이다.
본인에게 맞는 torch를 공식 사이트에서 설치하도록하자.
pip install torch==1.10.1+cu111 torchvision==0.11.2+cu111 torchaudio==0.10.1 -f https://download.pytorch.org/whl/cu111/torch_stable.html꼭 본인에게 맞는 pytorch를 다운받도록하자.

2. 깃으로 파일 가져오기
$ git clone https://github.com/HRNet/HigherHRNet-Human-Pose-Estimation.git가져와서 vscode로 가상환경을 연결하고 직접 확인해본다.
3. 요구되는 패키지 설치
pip install -r requirements.txt4. COCOAPI 설치하기
# COCOAPI=/path/to/clone/cocoapi
git clone https://github.com/cocodataset/cocoapi.git $COCOAPI
cd $COCOAPI/PythonAPI
# Install into global site-packages
make install
# Alternatively, if you do not have permissions or prefer
# not to install the COCO API into global site-packages
python3 setup.py install --user
5. CrowdPose API 설치하기
git clone https://github.com/Jeff-sjtu/CrowdPose.gitTo install:
-For Python, run "sh install.sh" under coco/PythonAPI
cd coco/PythonAPI # 다운 받은 폴더 PythonAPI에 install.sh 존재
sh install.sh
6. 새 파일 생성
cd /home/wook/HRnet ## HRnet 다운받은 폴더로 이동해서
mkdir output
mkdir log
mkdir data
mkdir models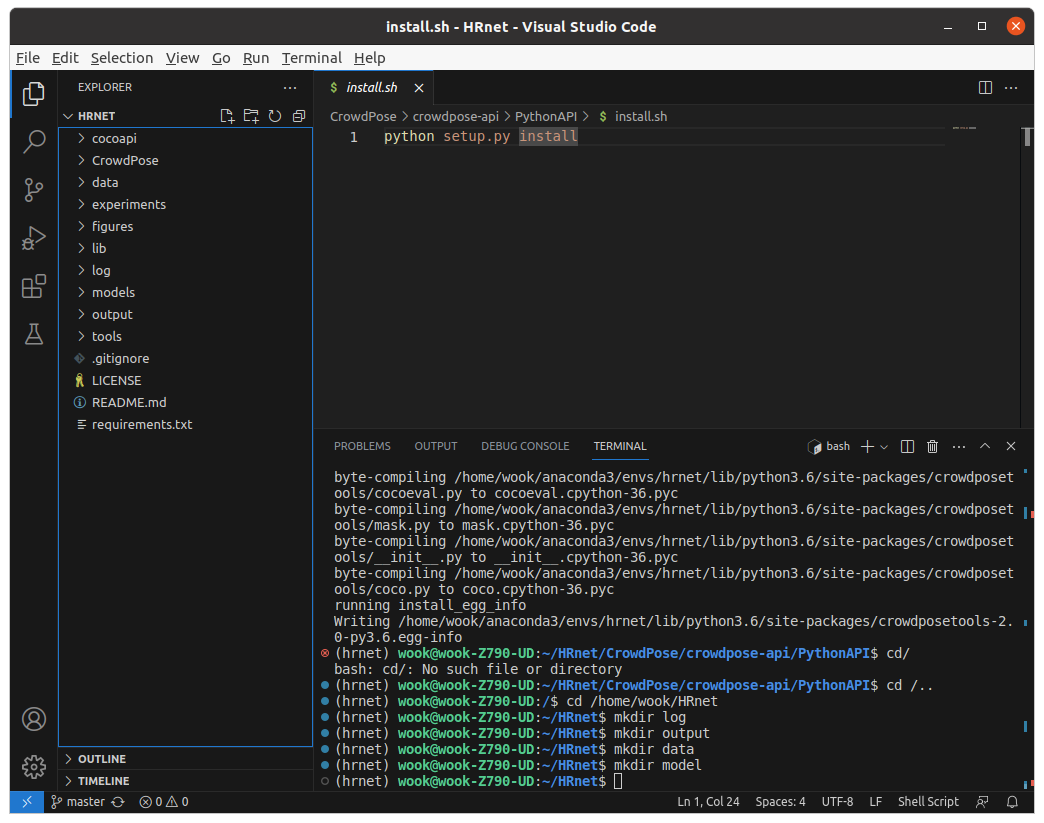
7. Download pretrained models from our model zoo(GoogleDrive or OneDrive)
${POSE_ROOT}
 `-- models
     `-- pytorch
         |-- imagenet
         |   `-- hrnet_w32-36af842e.pth
         `-- pose_coco
             `-- pose_higher_hrnet_w32_512.pth
모델 다운 받아서 넣기!!
8. For COCO data, please download from COCO download, 2017 Train/Val is needed for COCO keypoints training and validation. Download and extract them under {POSE_ROOT}/data, and make them look like this:
COCO - Common Objects in Context
cocodataset.org
코코 data 다운 받아서 넣기
용량 무지큼!
python tools/dist_train.py \
    --cfg experiments/coco/higher_hrnet/w32_512_adam_lr1e-3.yaml
훈련 시켜보는 코드... 긴장된 순간...!
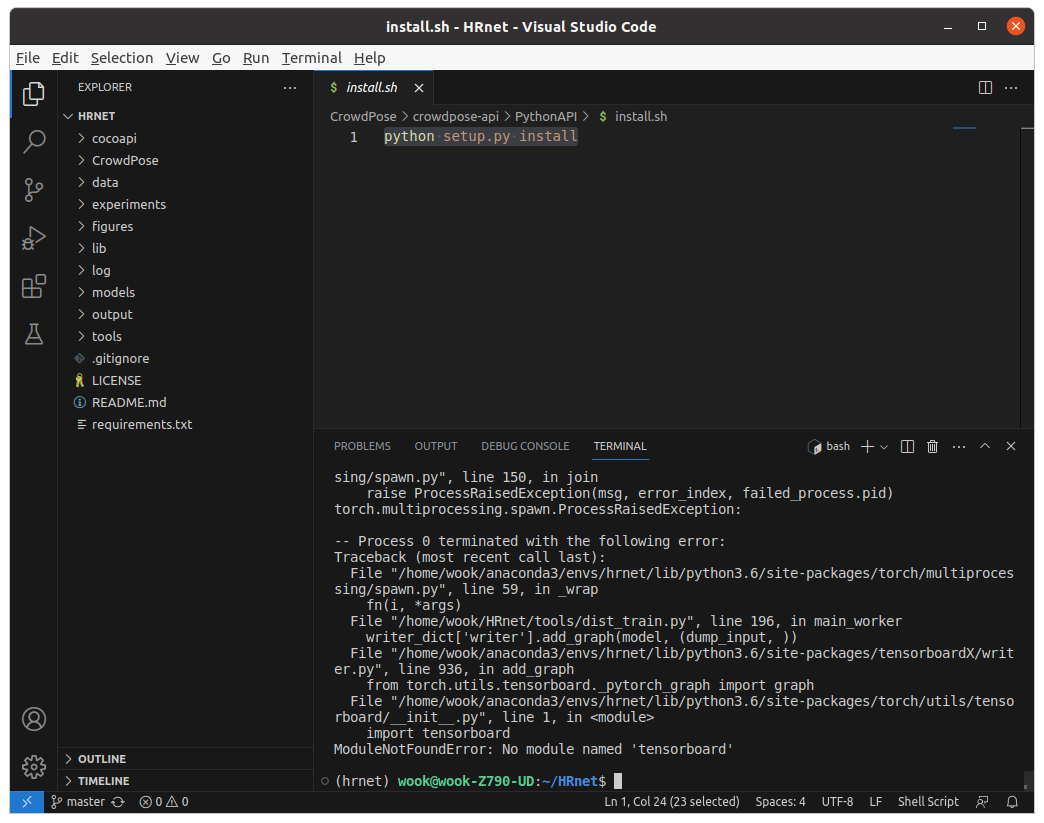
tensorboard가 없단다...
pip install tensorboard이것을 실행하고 마지막으로 돌린다면?!?!
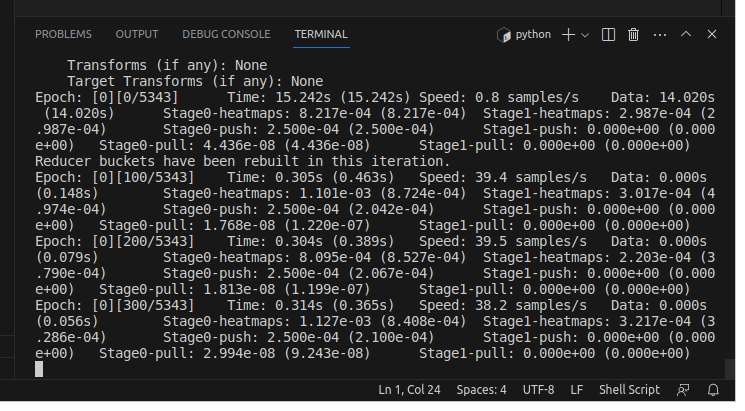
이렇게 잘 돌아갑니다!!!
원하는 내용 수정해서 이제 코드 돌리기만 하면 되겠지요 ㅎㅎ

윈도우로 멍고생하고... 리눅스로 넘어오니 그 약간 이 짤 생각나더라...

다들 에러코드 없는 행복길만 걸으시길...!!!!!
'데이터사이언스 대학원 생활 > Human Pose Estimation' 카테고리의 다른 글
| [논문 리뷰] SMPL: A Skinned Multi-Person Linear Model (0) | 2023.07.12 |
|---|---|
| Openpose 설치 및 사용(Windows 버전으로 쉽게) (3) | 2023.06.28 |
| MMPose - 훈련된 모델로 포즈 추정 실행! (0) | 2023.06.24 |
| MMpose 사용해서 (COCO - 2D WholeBody Datasets) 데이터로 모델 학습까지! (0) | 2023.06.23 |
| MMPose 설치 방법 (0) | 2023.06.23 |